Easy 3-Layer Pineapple Bliss Bars Recipe (No Soggy Crust!)
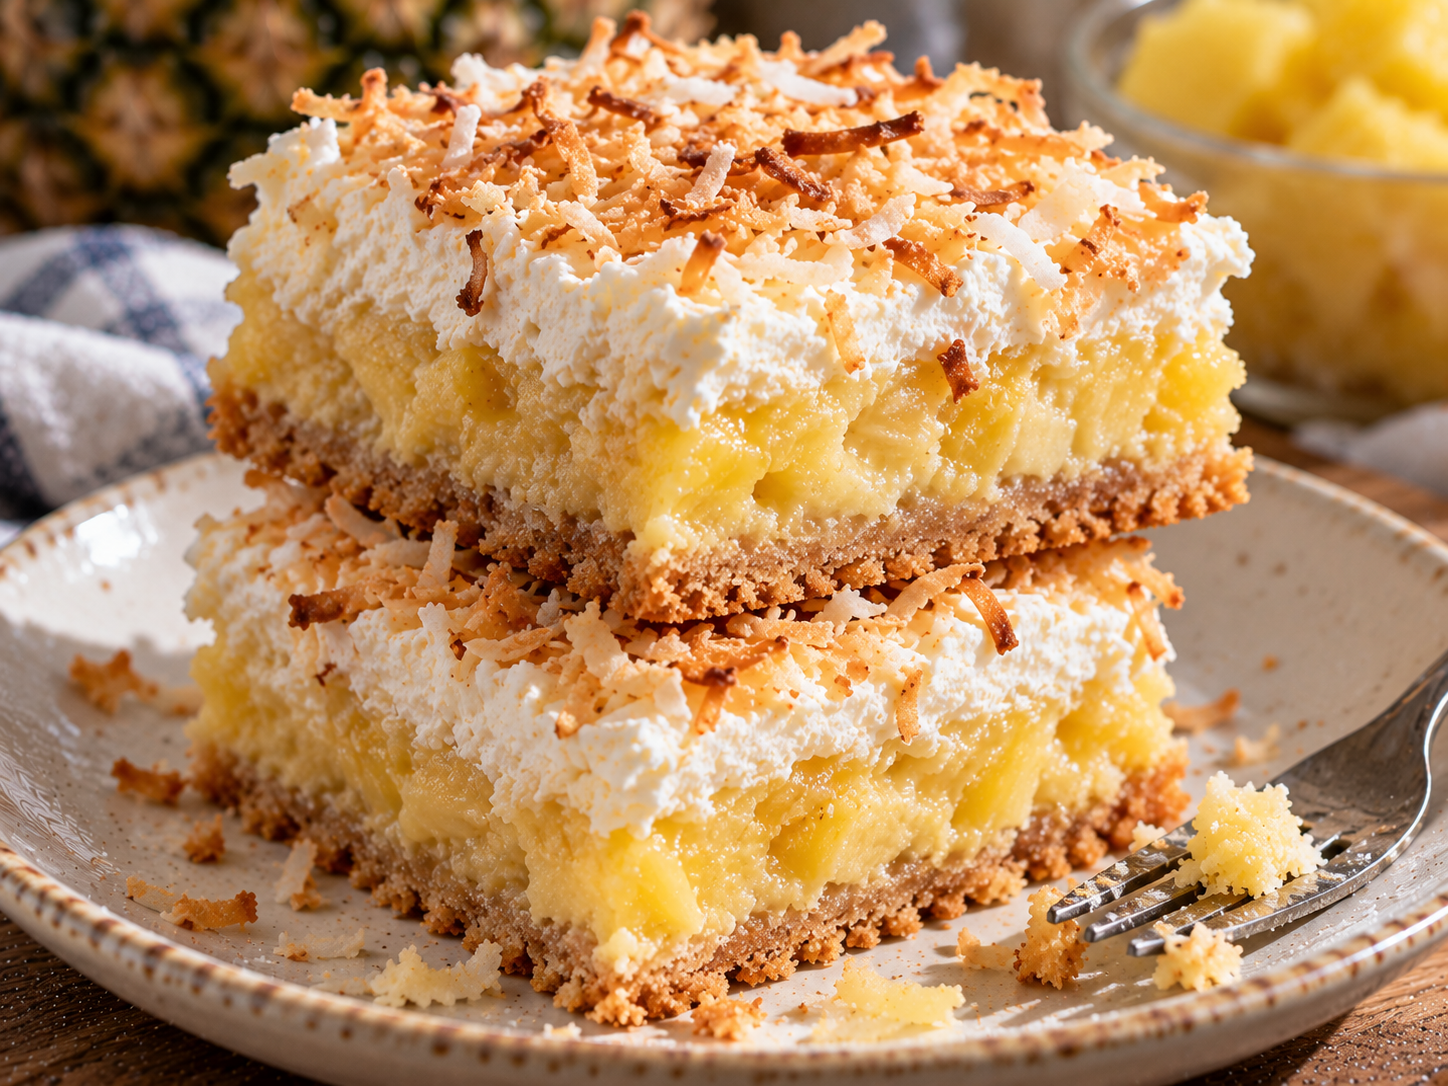
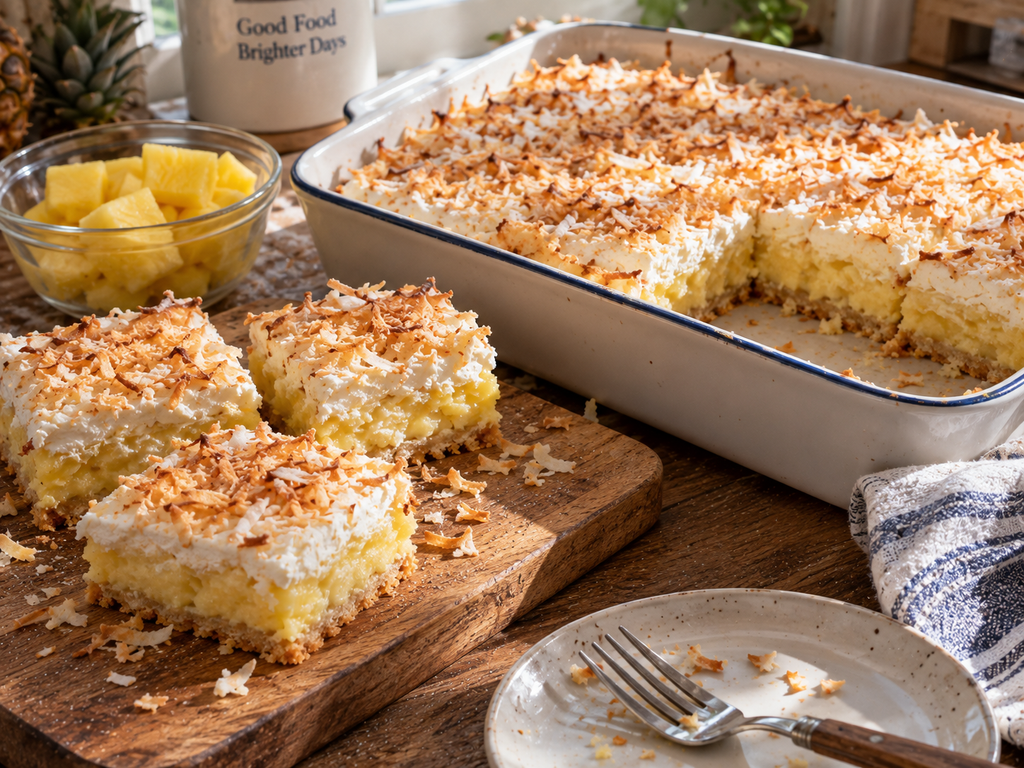
Friends, these pineapple bliss bars are about to become your new tropical, ultra-refreshing bar dessert with genuinely zero soggy crust issues. Buttery shortbread base, creamy pineapple filling, and a fluffy topping, all in one clean, sliceable square.
pineapple bliss bars
I’ve made plenty of pineapple bars over the years that turned into a soggy mess the moment they touched a fork, the crust dissolving under all that fruity moisture. That’s genuinely never happening again with this method.
These easy pineapple dessert bars fix that problem completely with two specific techniques: double-draining your crushed pineapple, and blind-baking the shortbread crust before any filling goes on top. This pineapple bars with shortbread crust recipe comes together with real, foolproof science behind every single layer.
Grab a baking pan and a can of crushed pineapple, because these creamy pineapple bliss squares are about to become your new best tropical dessert bars for every spring and summer gathering. No complicated technique, no fancy equipment, just two small adjustments that make a genuinely dramatic difference.
I’ve made countless batches of these pineapple bliss bars over the years, and the double-drain plus blind-bake combination is genuinely the change that finally solved my soggy crust problem for good. What follows is exactly why each step matters, so you understand the science behind every tropical, creamy bite.
Why You’ll Love This Recipe & The Crisp-Crust Secret
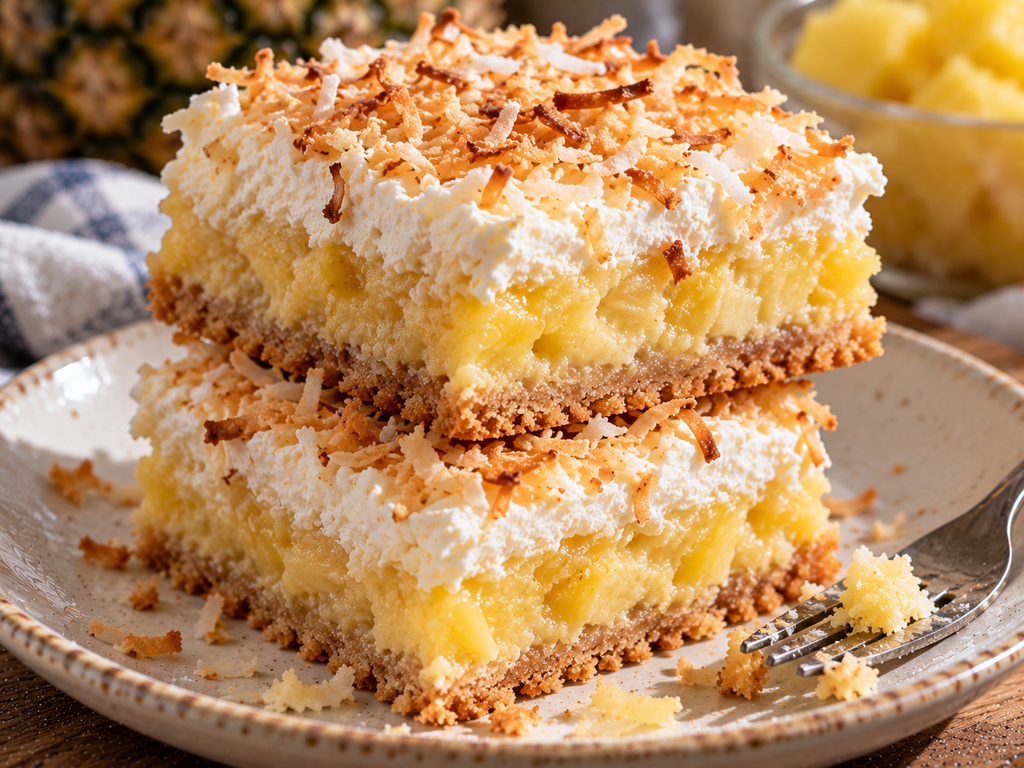
Here’s the culinary science behind genuinely crisp pineapple bliss bars: canned crushed pineapple holds an enormous amount of liquid, both from its own natural juice and the syrup or juice it’s packed in. If that excess liquid ends up in your filling, it will inevitably seep down into your crust during baking and chilling, turning a crisp base into a soggy, disappointing mess.
Double-draining solves this problem at the source. Draining your crushed pineapple once in a strainer, then pressing firmly with a spoon or squeezing it in a clean kitchen towel to extract even more liquid, removes the vast majority of that excess moisture before it ever has a chance to reach your crust.
The second key technique involves blind-baking your shortbread crust, meaning baking it on its own before the filling goes on top. This gives the butter and flour structure a chance to set and lightly brown, creating a firm, moisture-resistant barrier that holds up against the pineapple filling instead of absorbing it.
This is genuinely the entire secret behind pineapple bliss bars that stay crisp on the bottom layer after layer, even once chilled and sliced. Skip either the double-draining or the blind-baking, and you risk a soggy base no matter how carefully you handle everything else.
Balancing tropical acidity against cream cheese’s dairy fat matters just as much here. Pineapple’s natural acidity is bright and tangy, while cream cheese brings richness and a stabilizing fat content that keeps the filling from tasting one-dimensionally sharp or overly sweet.
There’s a helpful way to think about why these two techniques work so well together for pineapple bliss bars. Double-draining solves the moisture problem before it ever reaches the filling, while blind-baking builds a defensive barrier in the crust itself, and combining both approaches is genuinely what separates a soggy, disappointing bar from one that stays crisp and clean through every single slice.
Ingredients You’ll Need (Smart Substitutions)
Here’s everything that goes into building genuinely great pineapple bliss bars, and why each ingredient earns its place.
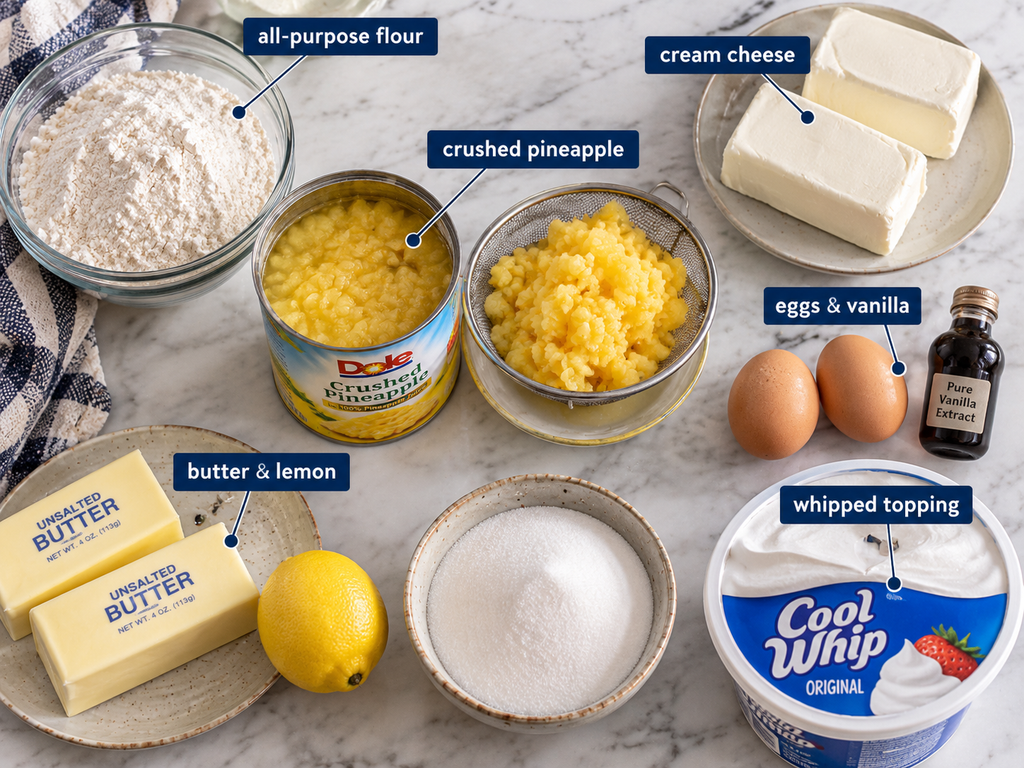
- Canned crushed pineapple (well-drained): The tropical star of the filling; thorough draining is genuinely non-negotiable for a properly set, non-soggy result.
- All-purpose flour: The structural base of the shortbread crust, providing just enough gluten to hold together without turning tough.
- Unsalted butter: Used in the crust for richness and proper crumbly texture, keeping full control over the final salt level.
- Granulated sugar: Sweetens both the crust and the filling, balancing the pineapple’s natural tartness.
- Brick cream cheese (softened): The dairy backbone of the filling, adding tang, richness, and structural stability.
- Whipped topping (or heavy cream): Folded into the filling or spread on top for a light, fluffy finish against the rich cream cheese base.
- Fresh lemon juice: A small addition that brightens the overall flavor and enhances the pineapple’s natural tang.
- Fresh eggs: Provide structure, helping the filling set into a sliceable texture as it bakes.
- Vanilla extract: Rounds out the flavor with warm, aromatic depth throughout the filling.
How to Make Pineapple Bliss Bars Step-by-Step
Here’s exactly how these pineapple bliss bars come together, from a pressed shortbread crust to a chilled, sliceable finish.
Stage 1: Mixing & Pre-Baking the Shortbread Crust. Combine flour, butter, and sugar until the mixture resembles coarse crumbs, then press firmly into a parchment-lined pan. Blind-bake this crust until lightly golden and set, giving it that essential head start before any filling goes on top of your pineapple bliss bars.
Stage 2: Preparing the Creamy Pineapple Filling. Beat softened cream cheese until smooth, then mix in sugar, eggs, lemon juice, and vanilla extract until fully combined. Fold in your well-drained crushed pineapple, distributing it evenly throughout the cream cheese base.
Stage 3: Baking, Chilling & Adding the Fluffy Topping. Pour the filling over your warm, blind-baked crust and bake until the center is just set with a slight jiggle remaining. Let the bars cool completely at room temperature, then refrigerate for at least 2 hours before spreading whipped topping evenly over the chilled filling.
This chilling period genuinely matters for both texture and flavor. Give your pineapple bliss bars enough time in the fridge, and the filling firms up into a genuinely sliceable texture while the flavors have a chance to meld together fully.
Stage 4: Slicing with the Parchment Sling Method. Use the overhanging parchment paper to lift the entire chilled slab out of the pan and onto a cutting board. Slice into clean squares with a sharp knife, wiping the blade clean between cuts for the neatest possible pineapple bliss bars.
Pro Baking Tips & Troubleshooting Table
Even a well-tested batch of pineapple bliss bars can go wrong in a few predictable ways, so here’s how to catch and fix each one fast.
| Problem/Mistake | Why It Happens | How to Fix It |
|---|---|---|
| Crust was soggy | Pineapple not drained thoroughly enough, or crust not blind-baked first | Double-drain the pineapple and always blind-bake the crust before adding the filling |
| Filling didn’t set | Not enough eggs, or bars pulled from the oven too early | Bake until only a slight jiggle remains in the center, and don’t skip the eggs |
| Bars crumbled when sliced | Cut before fully chilled, or crust overworked while mixing | Chill for the full recommended time before slicing, and handle the crust dough minimally |
| Filling tastes watery | Pineapple draining step skipped or rushed | Press firmly on the pineapple in a strainer or squeeze in a towel to remove excess liquid |
| Filling tastes flat | Lemon juice omitted, or cream cheese under-beaten | Always include the lemon juice for brightness, and beat cream cheese until genuinely smooth |
| Topping melts too quickly | Whipped topping added before the filling was fully chilled | Chill the baked filling completely before spreading whipped topping over the top |
What to Serve With & Storage Guidelines
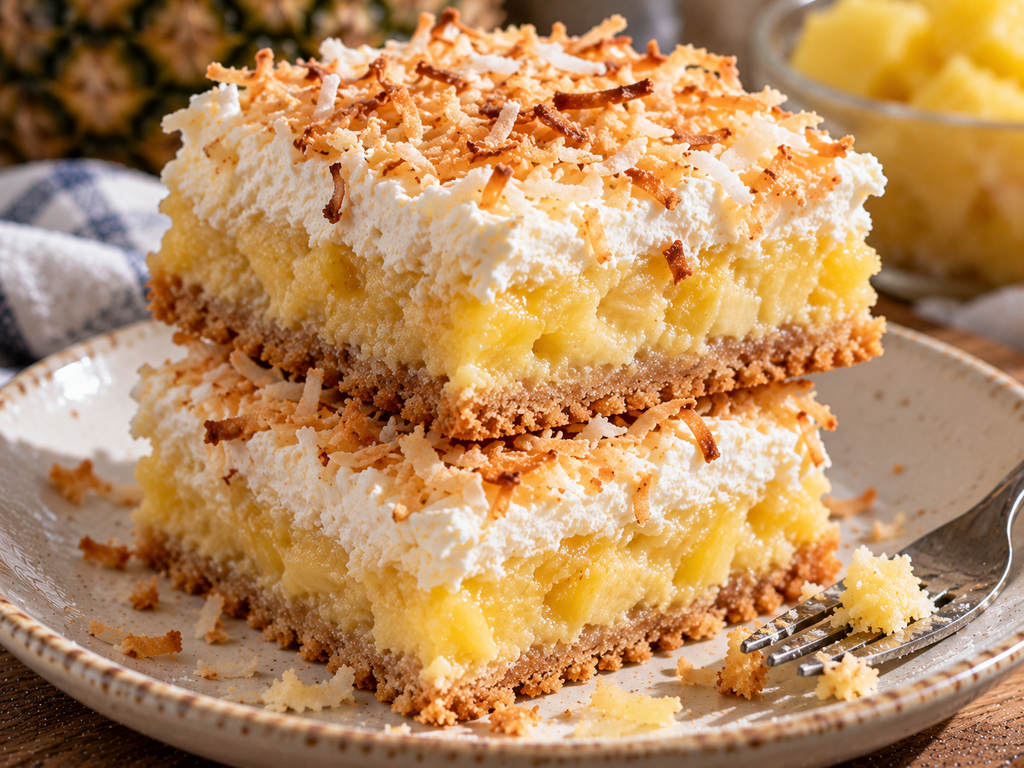
These pineapple bliss bars are a genuine hit at potlucks and spring gatherings, and they pair beautifully with a few other desserts too, especially when building out a full tropical-themed dessert table. For another fruity crowd-pleaser at your next spring gathering, our Moist Lemon Blueberry Pound Cake rounds out the table nicely.
If you’re building a party buffet, our Easy No-Bake Peanut Butter Pie makes a rich, creamy companion dessert alongside these tropical bars. Looking for more potluck dessert recipes? Our Strawberry Crunch Poke Cake is another genuinely great option worth adding to your rotation.
For fans of single-serving citrus and fruit bakes, our Baby Lemon Impossible Pies offer a similar bright, fruity appeal in individual portions. For proper storage guidance around fruit-and-cream baked goods, the USDA Food Safety Guide on Chilled Dairy Storage is a genuinely useful resource, and these bars keep well covered in the fridge for up to 5 days.
Frequently Asked Questions (FAQ)
These are the questions people ask most often about making genuinely great pineapple bliss bars at home.
Can I use fresh pineapple instead of canned?
Yes, finely chopped fresh pineapple works, though you’ll need to cook it down slightly first to soften it and reduce its moisture content before draining thoroughly. Canned crushed pineapple is generally more convenient and consistent for these pineapple bliss bars, since it’s already broken down into the right texture.
Why are my pineapple bars soggy?
This almost always comes down to skipping the double-drain on your pineapple, or not blind-baking the shortbread crust before adding the filling. Both steps are essential for keeping the crust in your pineapple bliss bars crisp rather than soggy.
How long do pineapple bliss bars last in the fridge?
Properly covered, these bars keep well in the fridge for up to 5 days, staying fresh and properly set throughout. Always store them chilled rather than at room temperature, since the dairy-based filling requires refrigeration for both safety and texture.
Can I freeze pineapple bliss bars?
Yes, these creamy pineapple bliss squares freeze reasonably well for up to 2 months when wrapped individually and stored in an airtight container. Thaw in the fridge overnight before adding fresh whipped topping for the best texture and presentation.
Can I make these bars ahead of time for a party?
Absolutely, these pineapple bliss bars are genuinely perfect for making a day or two in advance, since they need to chill anyway before slicing. Add the whipped topping close to serving time for the freshest, fluffiest finish.
you can check more recipes from here
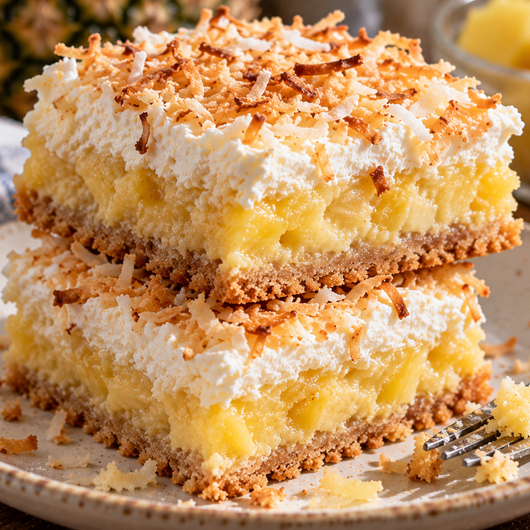
Easy 3-Layer Pineapple Bliss Bars Recipe (No Soggy Crust!)
Ingredients
- 2 cups all-purpose flour
- 1 cup unsalted butter
- 1/2 cup granulated sugar for crust, plus 3/4 cup (for filling)
- 16 oz brick cream cheese softened
- 2 large eggs
- 1 tbsp fresh lemon juice
- 1 tsp vanilla extract
- 2 cups canned crushed pineapple well-drained
- 2 cups whipped topping or fresh whipped heavy cream
Instructions
- Combine flour, butter, and sugar into coarse crumbs, press into a parchment-lined pan, and blind-bake until golden.
- Beat cream cheese with sugar, eggs, lemon juice, and vanilla until smooth.
- Fold in well-drained crushed pineapple.
- Pour filling over the warm crust and bake until just set with a slight jiggle.
- Cool completely, then chill for at least 2 hours.
- Spread whipped topping over the chilled filling, then slice using the parchment sling method.
Notes
- Double-drain the crushed pineapple thoroughly to prevent a soggy crust.
- Always blind-bake the shortbread crust before adding the filling.
- Use the parchment paper sling to lift the bars out cleanly for neat, easy slicing.