
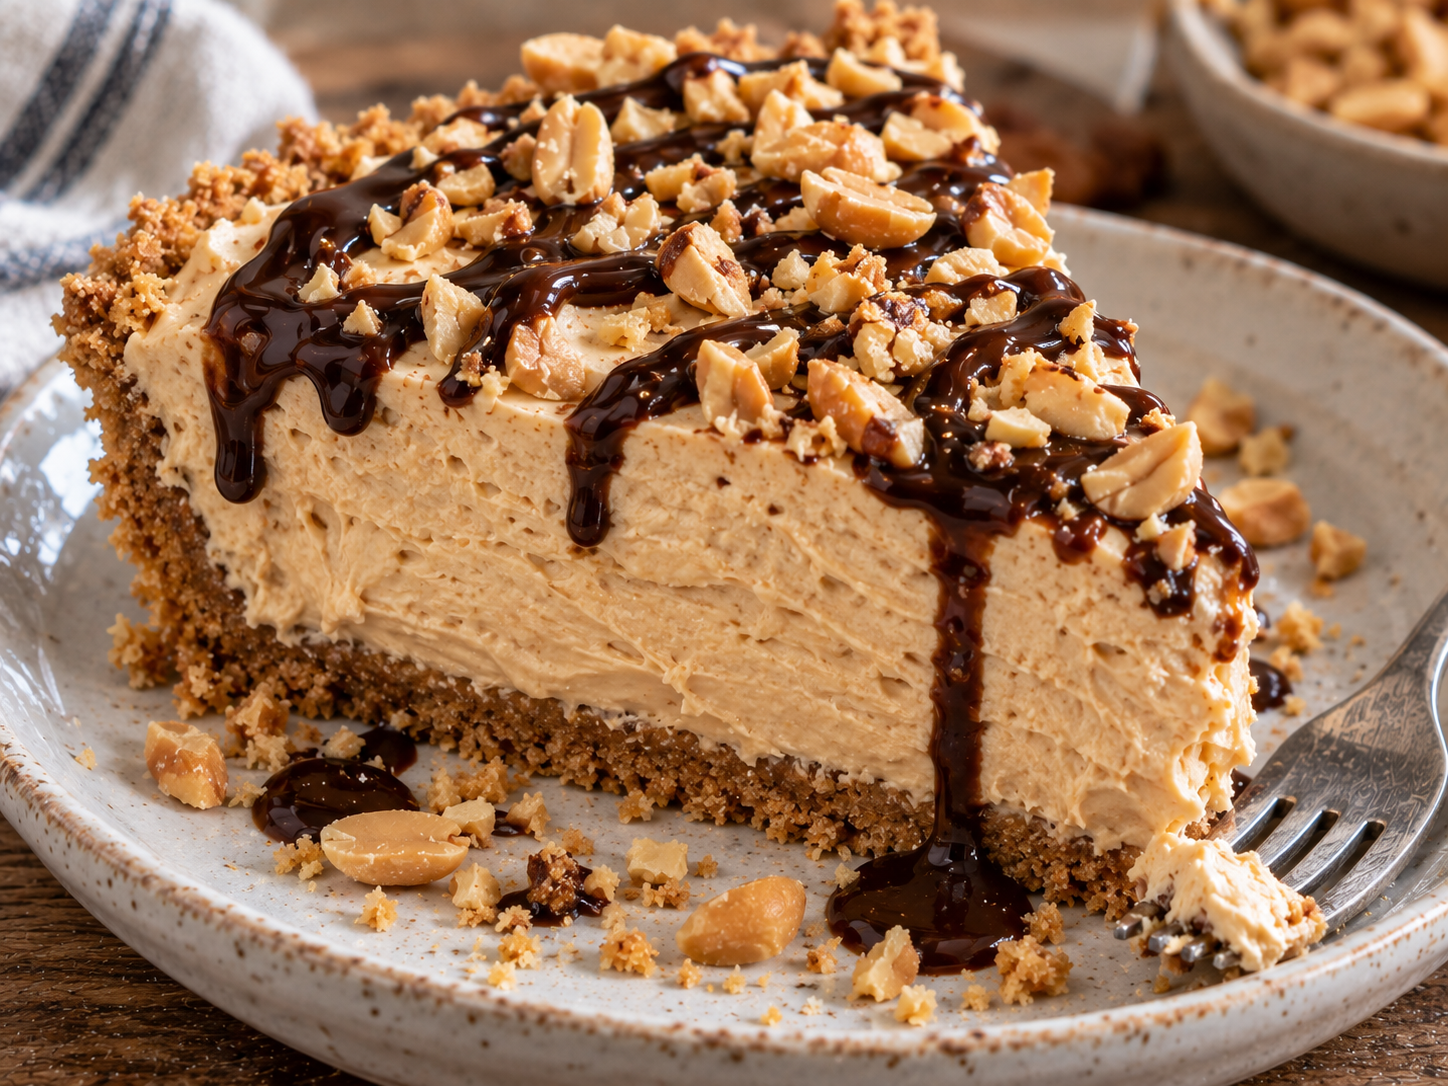
Easy No-Bake Peanut Butter Pie (Ultra Creamy & Light!)
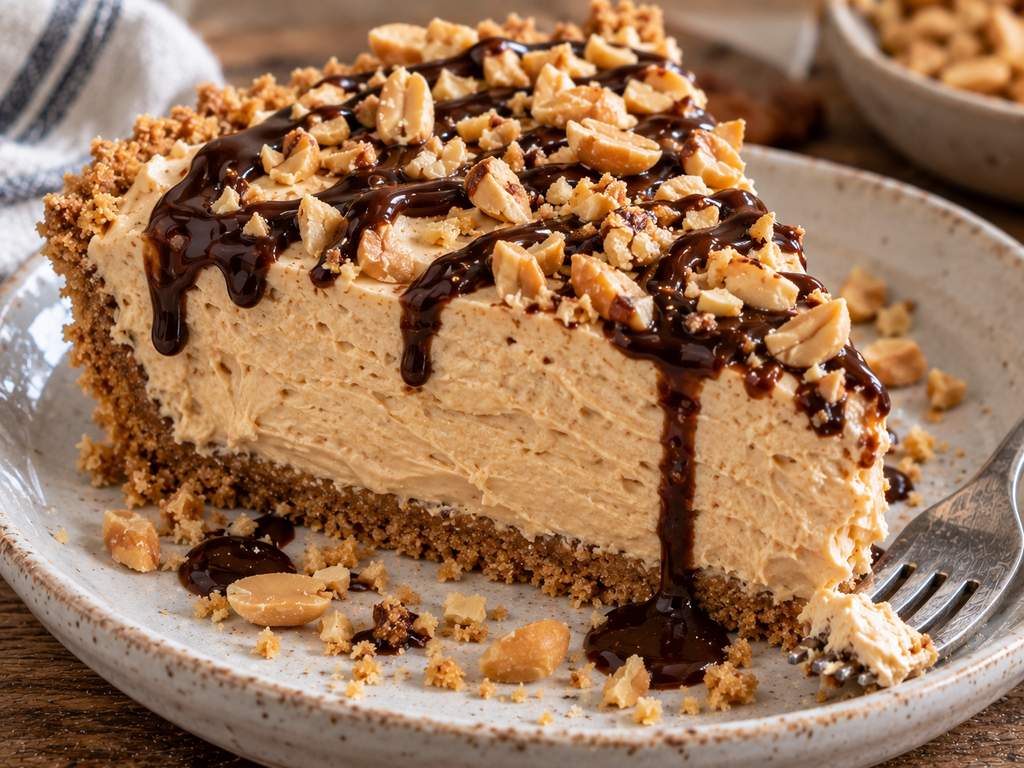
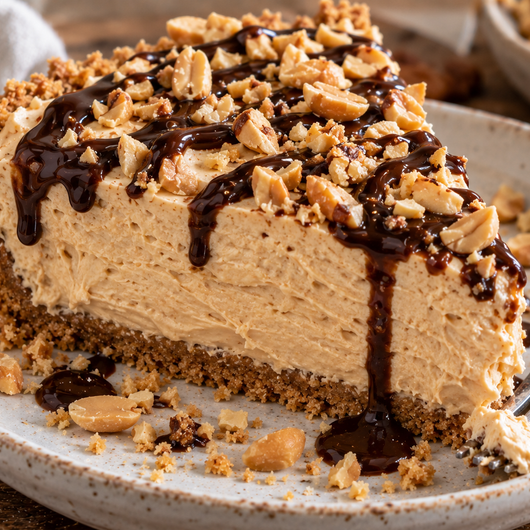
Friends, this easy no-bake peanut butter pie is about to end heavy, overly dense peanut butter pies forever. Ultra creamy, genuinely light and airy, no oven required, ready in about 20 minutes plus a little chilling time.
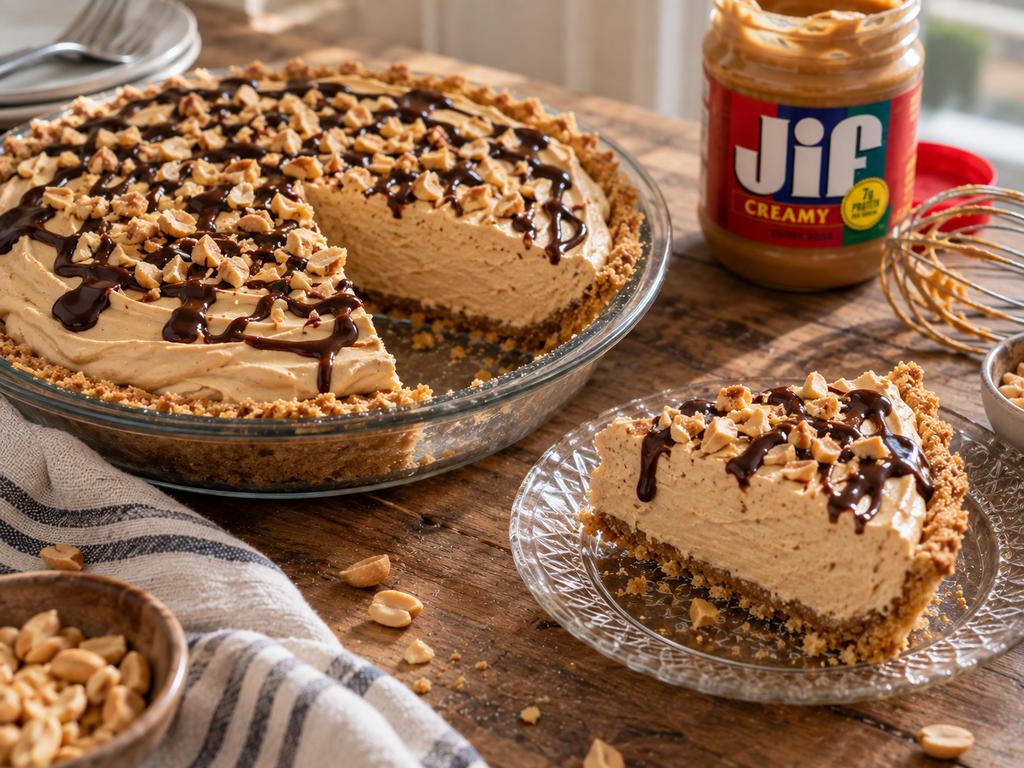
No-Bake Peanut Butter Pie
I’ve had plenty of dense, cloying peanut butter pies over the years, the kind that sit like a brick in your stomach after just one slice. That’s genuinely never happening again with this method.
This peanut butter pie with graham cracker crust comes down to one specific technique most recipes skip: whipping your own heavy cream instead of folding in store-bought whipped topping. This creamy peanut butter pie method guarantees a genuinely mousse-like, fluffy texture that sets naturally, no gelatin or shortcuts required.
Grab a mixing bowl and a graham cracker crust, because this best no bake dessert is about to become your new go-to for potlucks, parties, and everything in between. No oven, no fuss, just real ingredients whipped together the right way.
I’ve made this easy no bake peanut butter pie more times than I can count for gatherings, and it disappears faster than almost anything else on the dessert table. What follows is exactly why each technique matters, so you understand the science behind every single creamy bite.
Why You’ll Love This Recipe & The Mousse-Like Secret
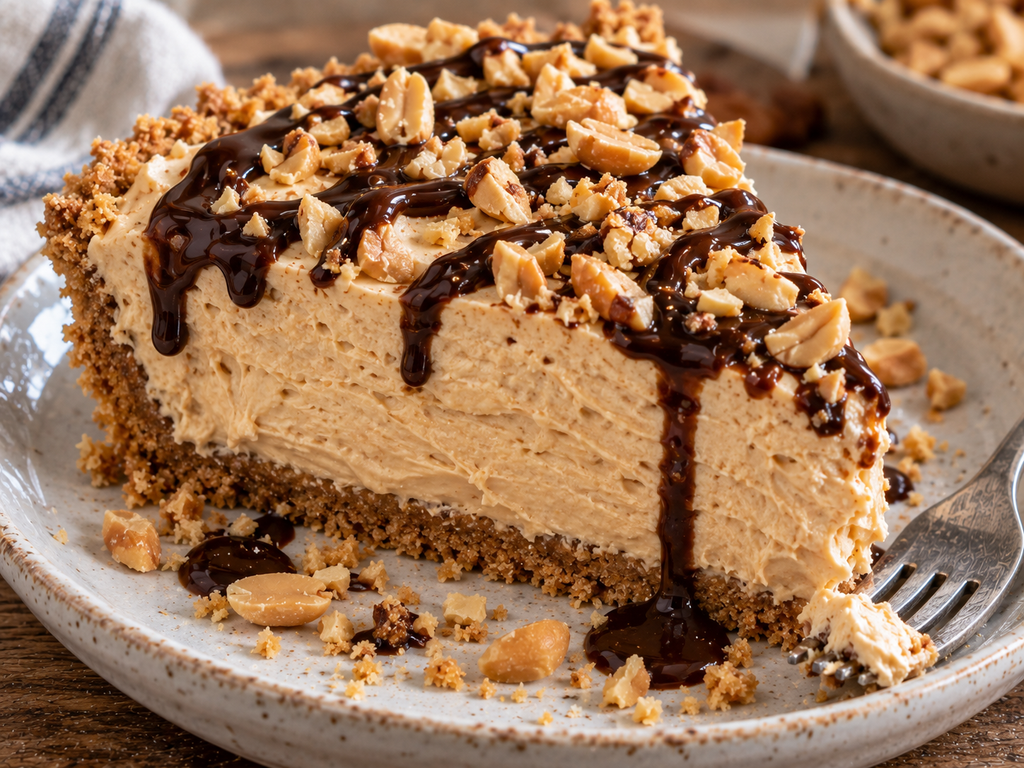
Here’s the culinary science behind a genuinely fluffy peanut butter pie: whipping heavy cream to stiff peaks incorporates air into the fat molecules, creating a stable foam structure that holds its shape. Folding this real whipped cream into your peanut butter and cream cheese base carries that trapped air directly into the filling, producing a light, airy texture instead of a dense, heavy one.
Store-bought whipped topping, by contrast, is often stabilized with gums and emulsifiers that hold a shape reasonably well but lack the genuine richness and structure that real whipped cream provides. This is exactly why folding your own whipped cream is the single biggest difference between an easy no bake peanut butter pie that tastes light and mousse-like versus one that tastes flat and overly sweet.
The emulsion between fat-heavy peanut butter and whipped cream matters just as much here. Peanut butter’s natural oils need to be gently incorporated into the cream cheese and whipped cream mixture, since aggressive mixing can cause the fats to separate slightly rather than blending into one smooth, cohesive filling.
Cream cheese brings its own important role too, contributing tang that balances peanut butter’s natural sweetness and richness. Its acidity keeps this creamy peanut butter pie from tasting one-dimensionally sweet, rounding out the overall flavor into something genuinely balanced.
Your graham cracker crust needs proper stability as well, which comes down to the ratio of butter to crushed crackers. Enough melted butter binds the crumbs together firmly once chilled, while too little leaves you with a crumbly base that falls apart the moment you try to slice into it.
There’s a helpful way to think about why this whole approach works so well together. The whipped cream provides lightness, the cream cheese provides tang and structure, and the peanut butter provides flavor and richness, and getting the right balance between all three is genuinely what separates an easy no bake peanut butter pie that tastes airy and balanced from one that tastes heavy and one-note.
Ingredients You’ll Need (Smart Substitutions)
Here’s everything that goes into building a genuinely great easy no bake peanut butter pie, and why each ingredient earns its place.
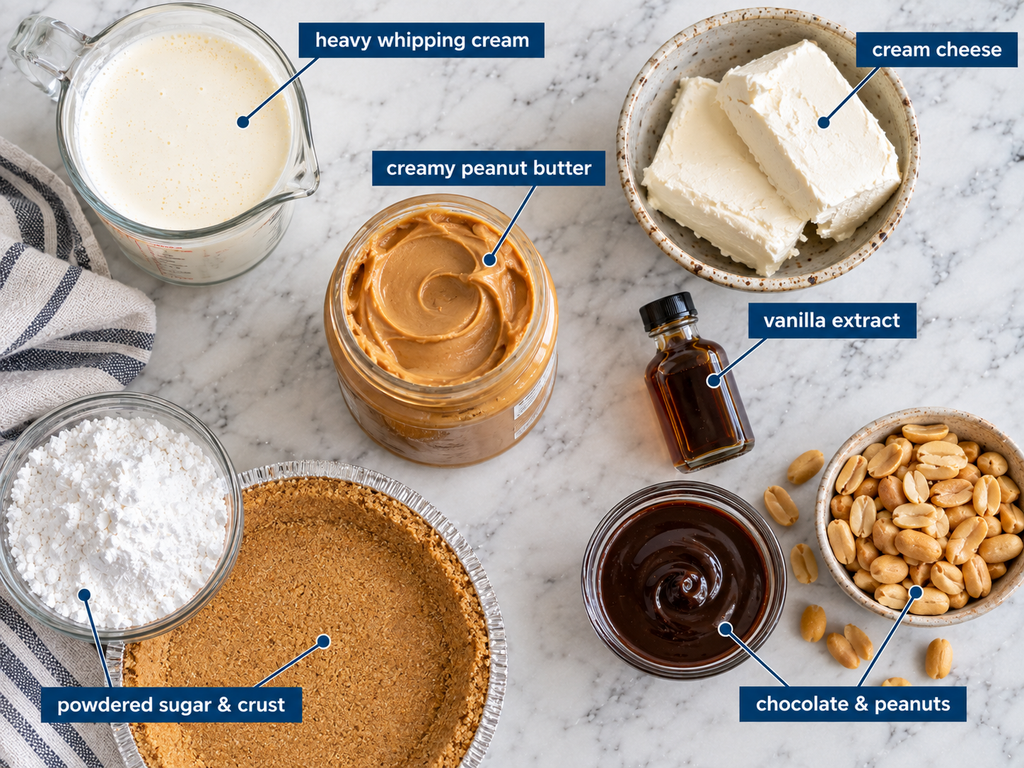
- Creamy peanut butter: The star of the show; standard creamy peanut butter blends more smoothly than natural varieties, which can separate and turn oily.
- Brick cream cheese (softened): Adds tang and structure; always use brick-style rather than the spreadable tub kind for the right consistency.
- Powdered sugar: Sweetens the filling while dissolving smoothly without any graininess.
- Heavy whipping cream: Whipped fresh to stiff peaks, this is the genuine secret behind the pie’s light, mousse-like texture.
- Vanilla extract: Rounds out the overall flavor with warm, aromatic depth.
- Pre-made or homemade Graham cracker crust: A store-bought crust works in a pinch, though a homemade one offers a fresher, more buttery flavor; check out this Homemade Graham Cracker Crust if you want to make yours completely from scratch.
- Chocolate sauce: Drizzled over the top for a classic, decadent finishing touch.
- Chopped roasted peanuts for garnish: Adds crunch and a burst of extra peanut flavor right on top.
How to Make No-Bake Peanut Butter Pie Step-by-Step
Here’s exactly how this easy no bake peanut butter pie comes together, from whipped cream to a chilled, sliceable finish.
Stage 1: Whipping Heavy Cream to Stiff Peaks. In a chilled bowl, whip your heavy cream on high speed until stiff peaks form, meaning the cream holds its shape firmly when the beaters are lifted. Set this whipped cream aside while you prepare the peanut butter base.
Stage 2: Beating the Peanut Butter and Cheese Base. In a separate bowl, beat your softened cream cheese until completely smooth, then add peanut butter, powdered sugar, and vanilla extract, mixing until fully combined. Beat just until smooth, since overmixing at this stage can cause the natural oils in the peanut butter to separate slightly.
Stage 3: Folding, Filling the Crust & Chilling. Gently fold your whipped cream into the peanut butter mixture in two or three additions, using a spatula and a light hand to preserve as much air as possible. Overmixing here deflates all that carefully whipped air, working directly against the fluffy peanut butter pie texture you’re trying to build.
Spread the filling evenly into your prepared graham cracker crust, smoothing the top with a spatula. Refrigerate for at least 4 hours, or until fully set, before drizzling with chocolate sauce and scattering chopped roasted peanuts over the top just before serving your easy no bake peanut butter pie.
Pro Dessert Tips & Troubleshooting Table
Even a well-tested batch of easy no bake peanut butter pie can go wrong in a few predictable ways, so here’s how to catch and fix each one fast.
| Problem/Mistake | Why It Happens | How to Fix It |
|---|---|---|
| Pie isn’t setting | Not chilled long enough, or whipped cream underwhipped | Chill for a full 4 hours minimum, and whip cream to genuine stiff peaks before folding in |
| Filling is grainy | Cream cheese not fully softened before mixing, or powdered sugar not fully incorporated | Ensure cream cheese is completely softened, and beat until the mixture is genuinely smooth |
| Crust crumbles easily | Not enough butter used to bind the graham cracker crumbs | Use a proper ratio of butter to crumbs, and press firmly into the pan before chilling |
| Filling tastes flat or overly sweet | Cream cheese omitted or reduced, losing its balancing tang | Always include the full amount of cream cheese for proper flavor balance |
| Filling looks separated or oily | Peanut butter overmixed, or natural peanut butter used instead of standard creamy | Mix just until combined, and stick with standard creamy peanut butter rather than natural varieties |
| Texture is dense instead of fluffy | Store-bought whipped topping used instead of real whipped heavy cream | Always whip your own heavy cream fresh for a genuinely light, mousse-like easy no bake peanut butter pie |
A quick note on bowl temperature: chilling your mixing bowl and beaters beforehand genuinely helps heavy cream whip up faster and hold stiffer peaks, which matters enormously for the final texture of your easy no bake peanut butter pie.
What to Serve With No-Bake Peanut Butter Pie
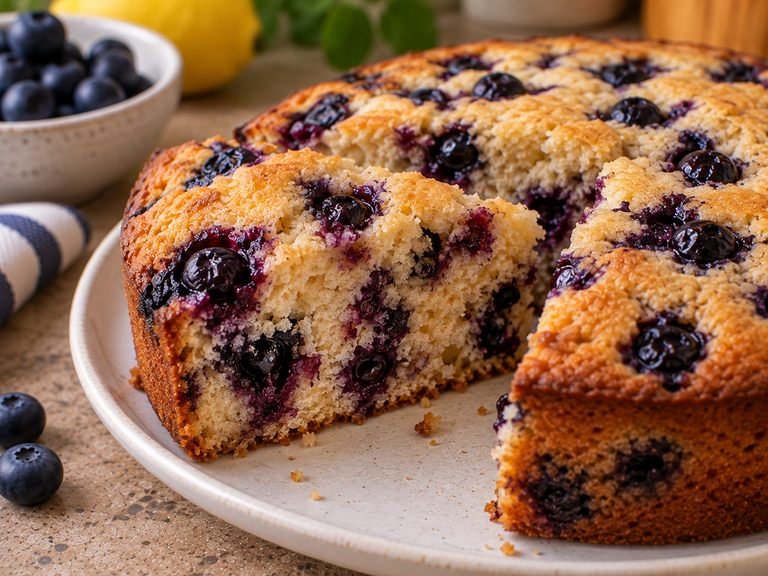
This easy no bake peanut butter pie is rich enough to be the star of any dessert table, but it pairs beautifully with a few other treats too. If you’re hosting a weekend party, our Moist Lemon Blueberry Pound Cake makes another crowd-pleasing option to round out the spread.
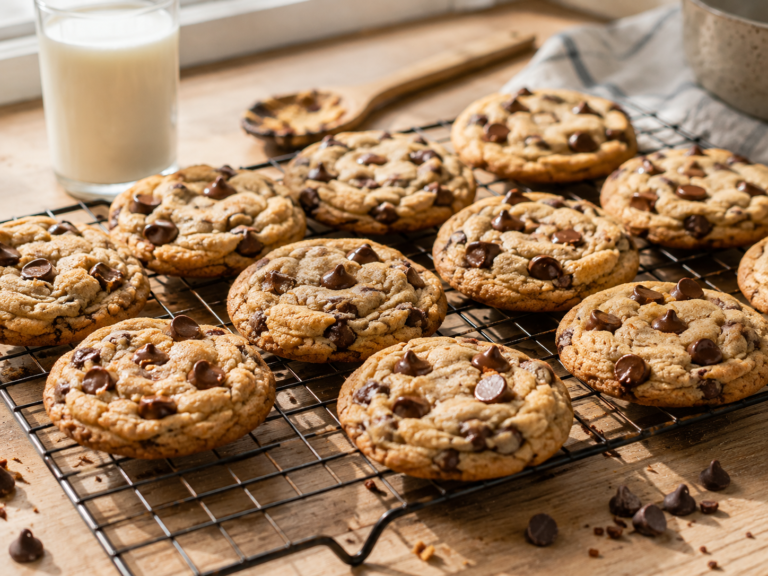
Want to get creative with the crust itself? Crush up leftover Chewy Chocolate Chip Cookies for a unique chocolate cookie crust alternative instead of the classic graham base on your next easy no bake peanut butter pie. And if you’ve got extra whipped cream or a peanut butter drizzle left over, save it to spoon over a stack of Fluffy Buttermilk Pancakes the next morning.
Once the weather cools down, a chilled slice of this creamy peanut butter pie pairs surprisingly well with a cozy mug of Creamy Homemade Hot Chocolate, the warm and cold contrast is genuinely delicious. For storage, keep your easy no bake peanut butter pie covered in the fridge for up to 4 days, and freeze individual slices wrapped tightly for up to 2 months if you want to save some for later.
Frequently Asked Questions (FAQ)
These are the questions people ask most often about making genuinely great easy no bake peanut butter pie at home.
Can I use natural peanut butter?
It’s not recommended, since natural peanut butter’s oils separate more easily and can make your easy no bake peanut butter pie filling look oily or grainy instead of smooth. Standard, shelf-stable creamy peanut butter blends far more reliably into this specific filling.
How long does no-bake peanut butter pie take to set?
Plan for at least 4 hours in the refrigerator, though overnight chilling gives you the cleanest, firmest slices for your easy no bake peanut butter pie. Rushing this step is the most common reason a pie doesn’t hold its shape when sliced.
Can I freeze this pie?
Yes, this creamy peanut butter pie freezes beautifully for up to 2 months when wrapped tightly or stored in an airtight container. Thaw in the fridge for a few hours before serving for the best texture.
Can I make this pie ahead of time for a party?
Absolutely, this easy no bake peanut butter pie is genuinely one of the best make-ahead desserts, since it needs to chill for hours anyway. Prepare it a day in advance and add the chocolate drizzle and peanuts right before serving for the freshest presentation.
Why is my peanut butter pie too soft to slice cleanly?
This usually means it hasn’t chilled long enough, or the whipped cream wasn’t whipped to fully stiff peaks before folding in. Give it more time in the fridge, and always confirm your cream holds a firm peak before combining it with the peanut butter base for the best easy no bake peanut butter pie texture.
you can check more recipes from here
Easy No-Bake Peanut Butter Pie (Ultra Creamy & Light!)
Ingredients
- 1 cup creamy peanut butter
- 8 oz brick cream cheese softened
- 1 cup powdered sugar
- 1.5 cups heavy whipping cream
- 1 tsp vanilla extract
- 1 pre-made or homemade Graham cracker crust
- 1/4 cup chocolate sauce
- 1/4 cup chopped roasted peanuts
Instructions
- Whip heavy cream to stiff peaks and set aside.
- Beat softened cream cheese until smooth, then mix in peanut butter, powdered sugar, and vanilla.
- Gently fold the whipped cream into the peanut butter mixture in additions.
- Spread the filling into the graham cracker crust.
- Refrigerate for at least 4 hours until fully set.
- Drizzle with chocolate sauce and top with chopped peanuts before serving.
Notes
- Always whip your own heavy cream fresh rather than using store-bought whipped topping for a genuinely fluffy texture.
- Use standard creamy peanut butter, not natural, to avoid a grainy or oily filling.
- Chill for a full 4 hours minimum, or overnight, for the cleanest, firmest slices.
2 Comments